How to Upgrade to Windows 11
Upgrading your PC to Windows 11 in 2025 isn't just about getting a new look; it's about staying secure, supported, and running at peak performance. Microsoft has made it clear that Windows 10 support will end on 14 October 2025, after which no further security updates will be available.
The good news? Upgrading is easier than ever. You don't need to wipe your PC or reinstall everything from scratch. In most cases, you can keep your files and apps while moving to Windows 11.
👉 Don't have a product key yet? Get Windows 11 Pro from Brytesoft instantly and upgrade today.
Windows 11 System Requirements (Check Before You Upgrade)
Before you begin, ensure your device meets the Windows 11 system requirements. Unlike previous Windows versions, Windows 11 enforces stricter hardware checks to enhance security and improve performance.
Here’s the quick checklist:
- Processor (CPU): 1 GHz or faster with 2+ cores, 64-bit compatible
- Memory (RAM): 4 GB or more
- Storage: 64 GB or larger drive
- Firmware: UEFI, Secure Boot capable
- TPM: Trusted Platform Module (TPM) version 2.0
- Graphics: DirectX 12 compatible with WDDM 2.0 driver
- Display: 9” or larger, 720p resolution minimum
📌 Tip: Use Microsoft’s free PC Health Check tool to confirm if your device is eligible.
✅ If your PC passes, you’re good to move forward with your Windows 11 upgrade guide.
How to Upgrade from Windows 10 to Windows 11
Most users will upgrade directly from Windows 10. Here are three methods you can use:
Method 1: Upgrade via Windows Update
This is the simplest way for most users.
- Open Settings → Update & Security.
- Select Windows Update.
- Click Check for updates.
- If your PC is eligible, you’ll see the option to Upgrade to Windows 11.
- Click Download and install.
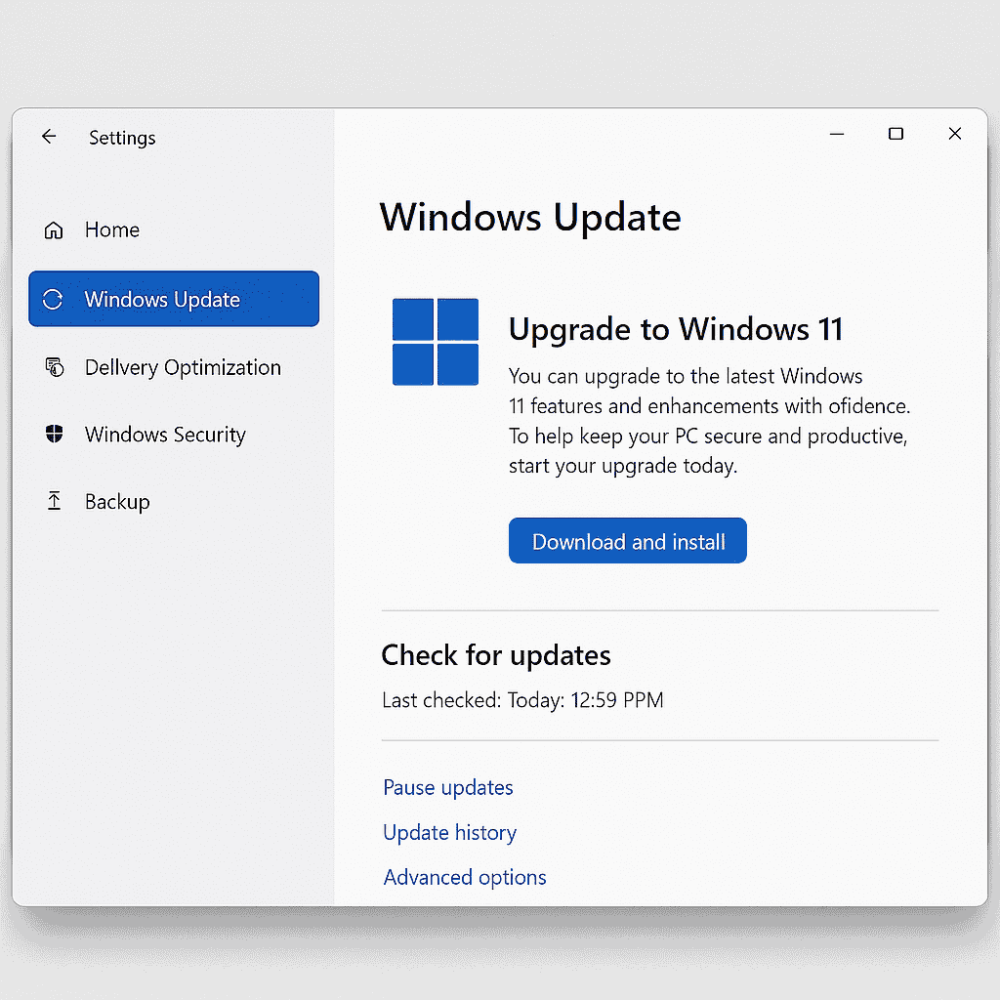
This method keeps all your files, apps, and settings. It's the recommended option for everyday users.
Method 2 – Upgrade Using Installation Assistant
If Windows Update doesn’t show the upgrade, you can use Microsoft’s Installation Assistant:
- Download the Installation Assistant from Microsoft’s Windows 11 download page.
- Run the installer and follow the on-screen instructions.
- Your PC will reboot several times during the upgrade.
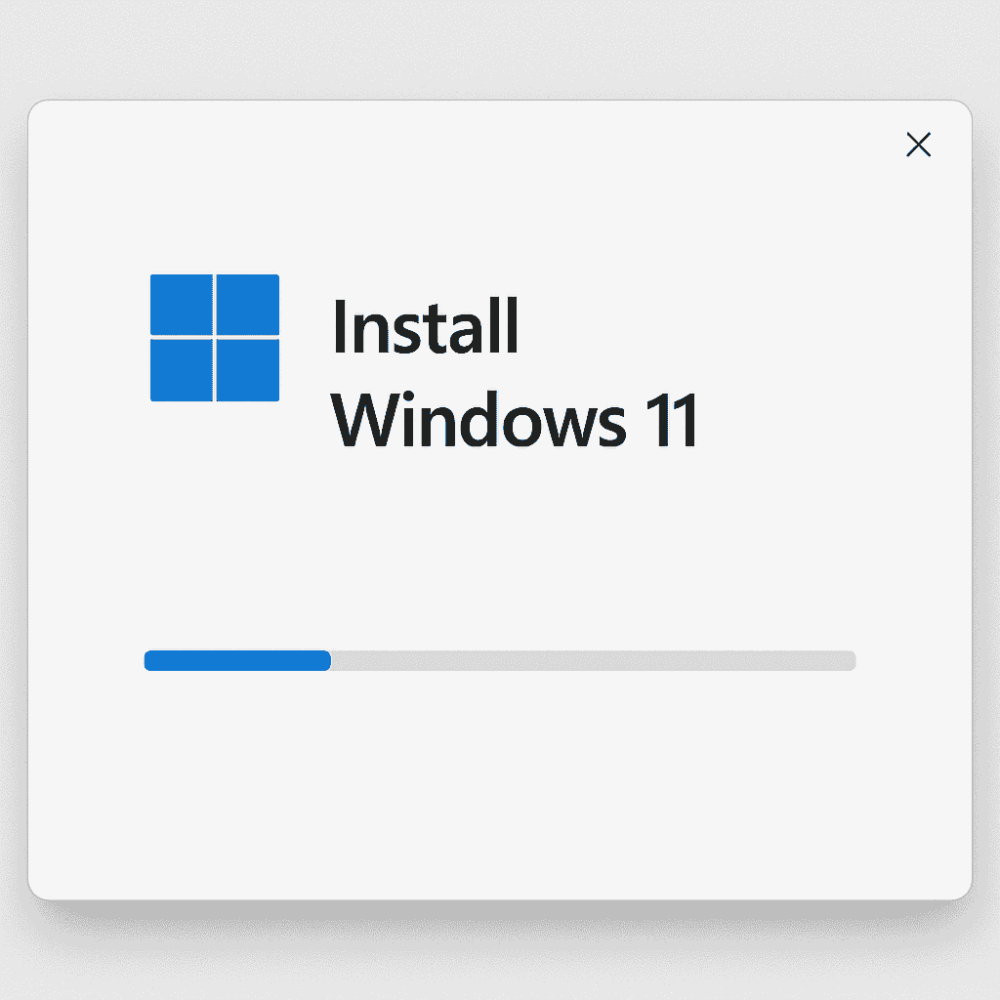
This method allows for an upgrade while preserving files and apps.
Method 3 – Clean Install vs Upgrade (What’s the Difference?)
- Upgrade (in-place): Keeps your files, apps, and settings. Best for most users.
- Clean Install: Wipes your drive and installs Windows 11 fresh. Best if your system feels sluggish or you want an immaculate start.
💡 If you're upgrading to Windows 11 Pro, a clean install is often recommended to ensure optimal performance and security. Check out our Windows 11 Pro Download Guide for a complete, step-by-step guide on installation.
👉 Learn more about Pro here: Windows 11 Pro features.
Upgrade to Windows 11 Without Losing Data
One of the biggest concerns users have is: Will I lose my files?
The answer: No, as long as you choose the “Keep personal files and apps” option during setup. Both the Windows Update and Installation Assistant methods default to this setting.
Still, it’s smart to:
- Back up important files to OneDrive or an external drive.
- Sync apps and settings using your Microsoft account.
That way, even if something goes wrong, your data is safe.
Troubleshooting Windows 11 Upgrade Issues
Sometimes the upgrade doesn’t go smoothly. Here are common problems and fixes:
- Your PC isn’t eligible (TPM/Secure Boot error):
- Check your BIOS/UEFI settings to enable TPM 2.0 and Secure Boot.
- If your CPU is unsupported, it is recommended to stick with Windows 10 or upgrade your hardware.
- Not enough storage:
- Free up disk space by deleting temporary files and apps.
- Microsoft recommends at least 64 GB of free space.
- Upgrade fails or crashes:
- Run Windows Update Troubleshooter.
- Try the Installation Assistant instead.
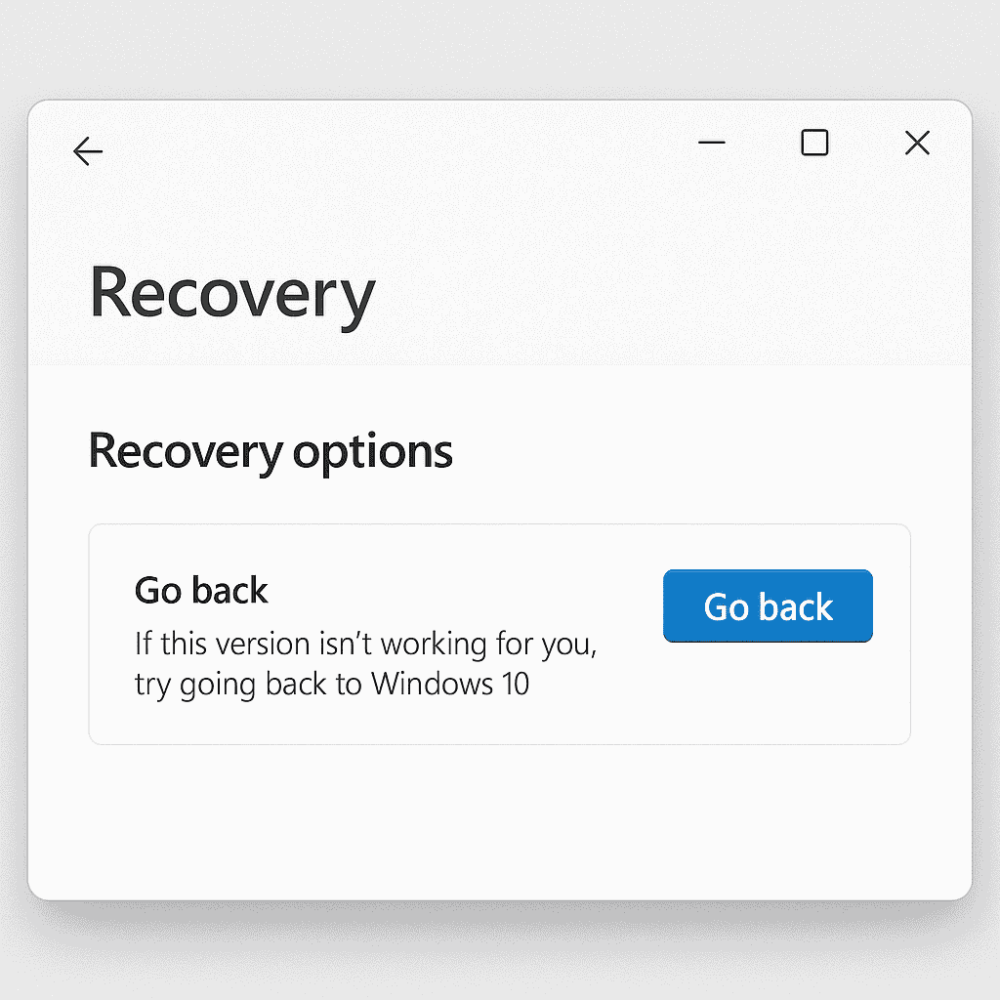
- Want to go back to Windows 10?
- Within 10 days of upgrading, you can roll back to Windows 10 by going to Settings → Recovery.
If you're still running into problems beyond these common fixes, don't worry, we've got you covered. For more detailed troubleshooting on specific upgrade errors, feel free to check out our Windows 11 Pro Download and Activation Guide. It provides a comprehensive walkthrough of potential errors that may occur during download, installation, or activation, along with step-by-step solutions.
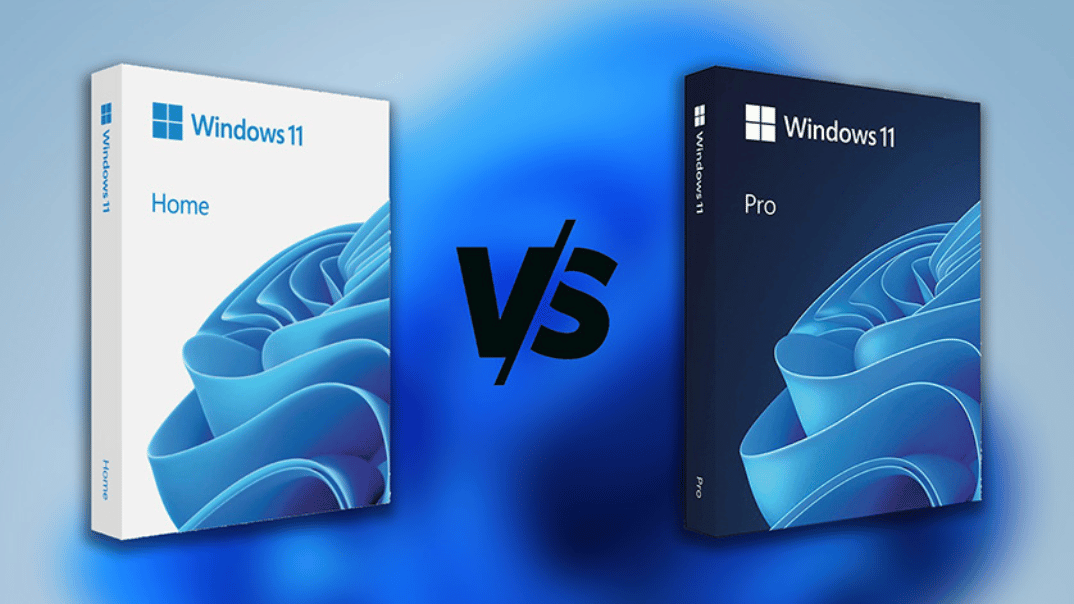
Why Upgrade to Windows 11 Pro?
While Windows 11 Home works for casual users, Windows 11 Pro unlocks advanced features for professionals and businesses:
- BitLocker encryption – Protects your data if your device is lost or stolen.
- Group Policy Management – Better control for IT and power users.
- Remote Desktop – Connect to your PC from anywhere.
- Enterprise-grade security – Required for many workplaces.
👉 Get your genuine Windows 11 Pro license key instantly from Brytesoft and unlock the full potential of your PC.
Conclusion: Time to Upgrade
Upgrading to Windows 11 keeps your PC faster, safer, and more future-proof as Microsoft phases out support for Windows 10. The process is straightforward whether you upgrade through Windows Update, use the Installation Assistant, or do a clean installation.
Don't wait until your system is outdated. Stay secure and enjoy the new features today.
👉 Ready to upgrade? Buy and download Windows 11 Pro today from Brytesoft.
FAQ About How to Upgrade to Windows 11 in 2025: Complete Guide
Is the Windows 11 upgrade free?
Yes, if you're running a licensed copy of Windows 10.
Can I upgrade from Windows 7 or 8?
Not directly. You’ll need to upgrade to Windows 10 first, then move to Windows 11.
Do I need a product key to upgrade?
If your Windows 10 is already activated, your license will carry over when you upgrade in-place (no new key required). A new key is only needed if you’re switching editions (e.g., Home & Pro). For a clean installation of Windows 11, you'll also need to enter a valid Windows 11 product key.
How long does the Windows 11 upgrade take?
The upgrade time varies depending on your PC’s speed and internet connection.
Can I upgrade directly to Windows 11 Pro?
Yes. If you're on Windows 10 Pro, you'll be upgraded to Windows 11 Pro automatically. If you're on Windows 10 Home, you can upgrade to Windows 11 Home first. Then enter a Windows 11 Pro product key to unlock Pro features instantly without reinstalling.
What if my PC isn't compatible with Windows 11?
You can stay on Windows 10 until 14 October 2025. After that, upgrading your hardware is the safest path.

